Showing posts with label bows. Show all posts

Friday, September 21, 2007

Hunting in Virginia

Saturday early archery hunting season began. My brother and I woke up at 5am and headed out into the Virginia woods about an hour south of Washington D.C.. Sometime after 7:30am I saw a small deer approaching. I was sitting on the ground with my feet in a dugout pit. It was as if I were sitting in a chair where my butt was level with the ground.

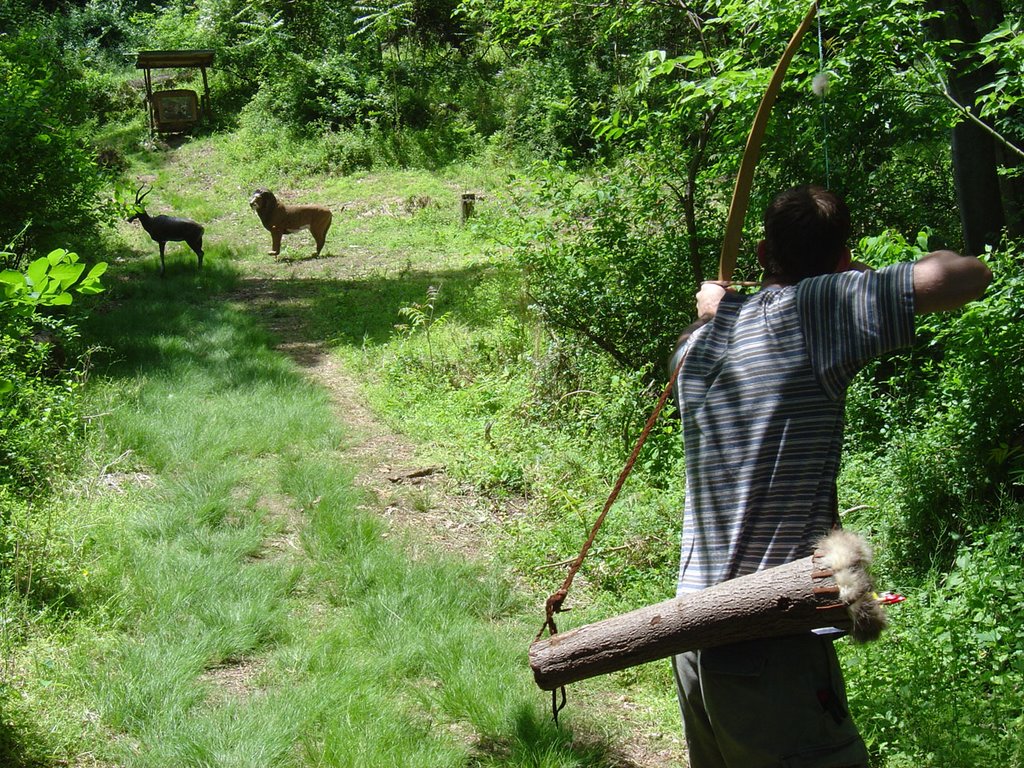
The deer was approaching from the side that had almost no cover. The hunting blind was set up for the deer to come the other direction. When I saw it, I slowly leaned over and laid my chest on the ground with my bow extended in shooting position. The deer continued in my general direction, but was starting to angle away.

Mentally, I called to her and told her there were acorns by me which there were. She turned and came closer towards me. At one point she was about 12 yards away. There was absolutely nothing between her and me and yet she hadn't seen me. I had a perfect broadside shot.

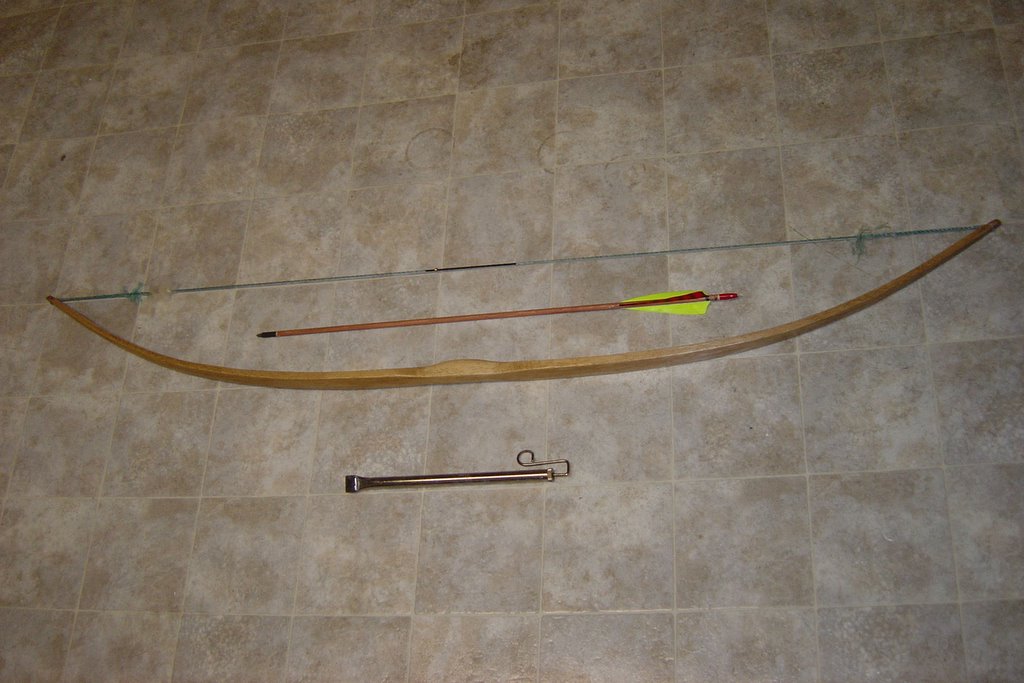
I let her walk on. Why didn't I shoot? It didn't feel right. I wasn't confident that I wouldn't just injure the deer. I was laying in a awkward position, with a shirt draped over one eye, using an arrow that shoots crooked about 3 yards outside the range I practice shooting from at a smaller than expected deer. This was also the first day of hunting. I thought I would surely have better opportunities.

As it turns out I went hunting four more times over the next 3 days and saw that same deer again, but no others. We think that the rest of the deer are hanging out closer to the river at this time of year.

It was exciting and having a deer so close with nothing between between her and me was a thrill. I learned a lot from each time in the woods. I saw a fox and heard him barking. I heard lots of different birds including two barred owls squawking at each other which is pretty funny to hear.

This is my first all natural arrow. The point is dacite stone. It was hafted in using pitch and sinew. The shaft is viburnum and the fletchings are sinew and turkey feathers.


Her you can see the shirt I wore on my head. I did this because the mosquitoes were pretty bad. Here I have the side tucked tightly to my head. The first day I didn't so they draped in front of my eye. To get this look I first dabbed on white ash to dull my skin. The black is charcoal and the lighter color is clay.


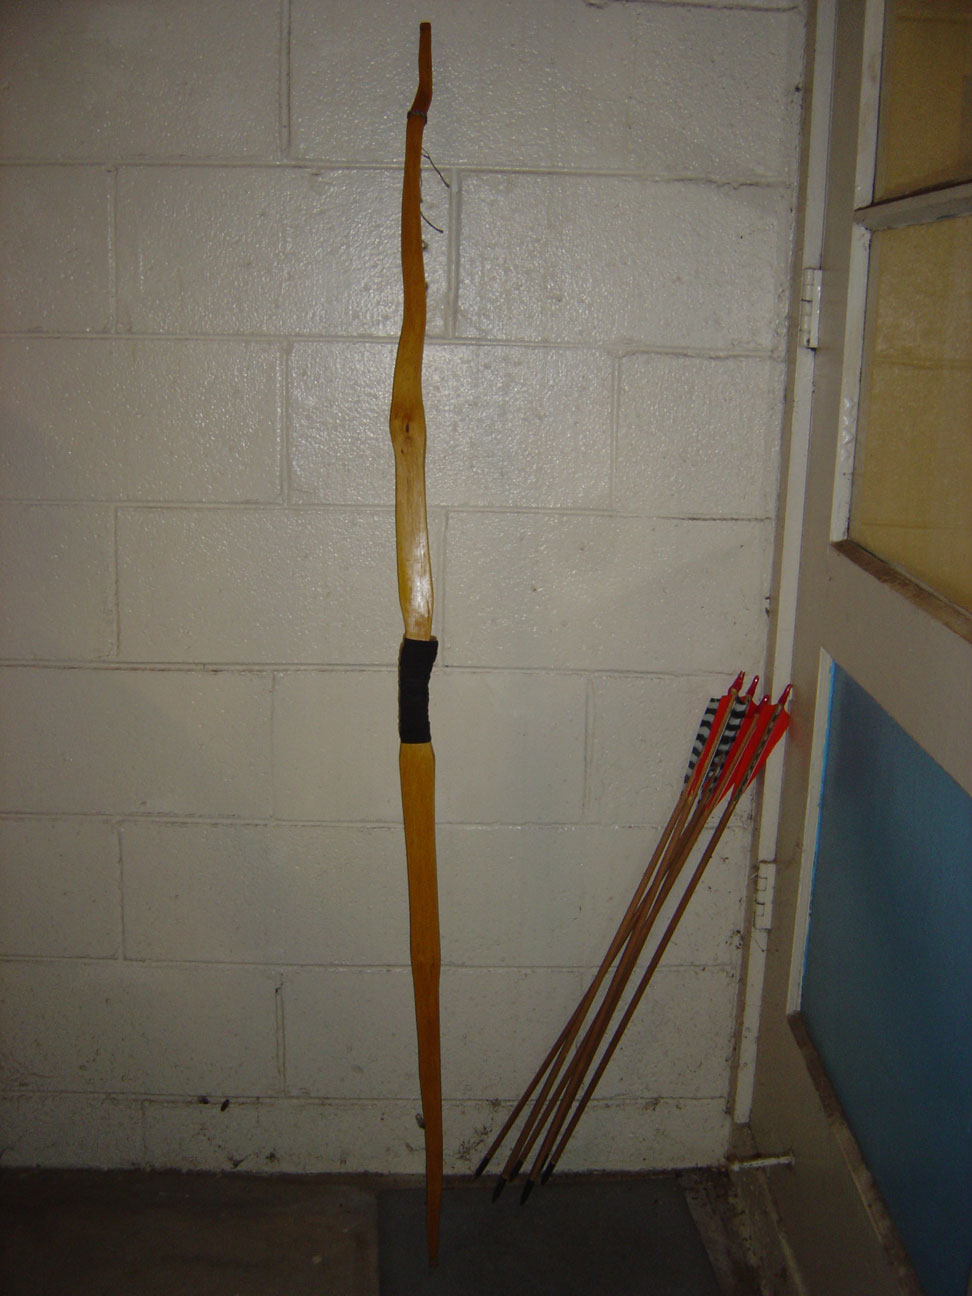
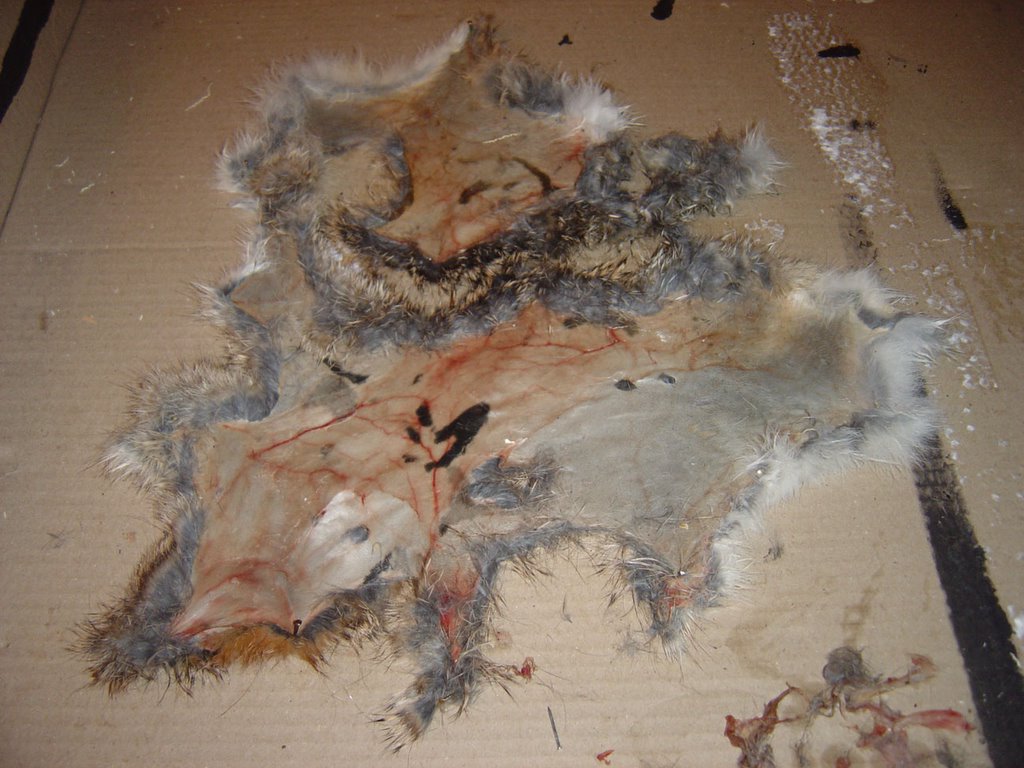
One day my brother showed me how to make a carrying case for my bow. This is made from braintanned deer skins. I cut long thin strips to sew it all together.


8 days till I start my journey out west.

Sunday, January 28, 2007

Mini Bow

I finally finished my short bow. I initially started it about 4 years ago when my brother was just getting into bow making. He gave me a 38 inch stave to work on. I eventually got tired of working on it, but a couple months ago I decided to pick it up again.

Being so short, the bow can't withstand the same bending as a long bow. So the furthest I draw it is about 17 inches, well short of my 30 inch draw length. To help with the stability of the bow I made the limbs 1/2 inch wider than I would a long bow. I also didn't taper them till the last four inches. In the picture below you can see the limb width and the camo pattern I stained on it.


Over a year ago in my second bow making post, I said I was going to write about tillering. The bow I was working on at the time blew up so I didn't end up writing about it. This time I took a few pictures to show tillering. I didn't do a very good job tillering this bow. Ideally, the bend in each limb is even throughout and the two limbs match. As you can see below, when I first finished my bow, the limbs were not even. The limb on the right bends pretty evenly throughout, but the one on the left bends a lot more in the middle of the limb between numbers 3-6 on the wall.


Once I realized this, I went back and removed more wood from the right limb. The basic idea of tillering is to remove wood where the bow bends less and leave wood where it bends more. The picture below shows my final tillering. The limbs bend the same amount here, but they don't bend evenly throughout, so I only got it half right.


The bow pulls 47 lbs. at 17 inches. I wood burned this into the belly so I wouldn't forget.


To give you an idea of just how small this thing is, I put it next to my long bow. I also put my arrows for comparison. The short one is 20 inches. I'll have to play around to see what the best length will be. I took a few practice shots and the arrow fired higher than I expected. I think it is because when resting on my hand it is off center of the bow. By this I mean closer to the top tip than the bottom tip. This is the same with any bow, but with a shorter bow, being off center a couple inches makes a bigger difference.


Although this bow pulls 47 lbs., I'm not sure what the actual arrow speed is since it only pulls to 17 inches. I'll have to play around with it to see how it compares to my long bow. It should be noticeably slower since the string has so much less distance to travel.

Tuesday, January 02, 2007

Holiday Time

I had a great holiday with my family despite catching a cold. I ended my 2-year streak without sickness. :( My brother and I took our niece and nephew out shooting one day. He made a kid's bow a couple years ago that they both shared. It was pretty cool teaching them the proper technique.


Madeline picked it up pretty well and was able to shoot a couple arrows 30+ yards which is probably close to the bow's max range.


On our little journey we took them by a patch of cattails. Over Thanksgiving we took our nieces Natasha and Brianna by the same spot. The game is to grab the sausage head of the cattail and throw it at someone. The closer you are the better because it explodes into a cloud of fluffy seeds once you release it. By the time we were done, we had seeds all over our clothes. It's also a good way to reseed the area.


A few days after Christmas we went out shooting again. This time we took some of our friends. We had both a long and short distance shoot. The short distance shoot is pretty fun. The idea is to shoot at full draw straight up and see how close to you you can land the arrow. Part of the fun is that it is dangerous and stupid to do, but we've never had an arrow land closer than 15 yards so we're not too worried about it. As long as you keep your eye on the arrow, you're safe.

Here is my friend Steve shooting with my roommate Derik looking on.


My brother got me a Nicholson rasp for Christmas. He made the beautiful handle himself out of Osage. It's a little crooked, but it doesn't affect the performance negatively. This rasp is many times better than the one I was using before. I've been using it on the new bow I've been working on which I'll be writing about soon.


He also gave me two deer hides to tan. This is great because I've never tanned a hide before and have been wanting to learn for a long time. Chances are I won't get to them till the Spring when it is nice out, but you never know with global warming it may be nice out all winter.

I'd also like to acknowledge that I've been blogging now for over a year. I'm happy I started documenting my projects. I hope to keep it up as I delve into more skills.

Wednesday, June 21, 2006

My Hawaii Trip Part 3

I didn't get to go camping in Hawaii like I'd hoped, but that didn't stop me from playing with the local flora and fauna. There were so many plants with long blade-like leaves. Every time I looked at them I wanted to make cordage. You can see how I did this in my previous post about making cordage from yucca leaves. I tested a few different types of leaves. Some were definitely too weak to be much good, but I was able to make a decent piece of cordage from one type I found at the beach.

While I was in Hawaii, I finished the bow I made for Jon. It was a little difficult to get it down to it's final weight because I didn't have a scale to determine the draw weight. My target weight was between 50-55 lbs and the only way I could really tell was from comparing it to what I remember my bow feeling like. That and I also shot the 50-55 lbs spined arrows to see how they flew. I think the bow may be a little heavy, but it shot pretty well. I put 4 of 6 arrows through a beer can from 15 yards. The bow is made from Osage wood. I finished the handle by wrapping it in leather and adding an arrow rest.


We set up a little range on the side of Jon's house. It was fun to shoot unopened Diet Pepsi cans. They had a case of them and no one at the house drinks diet.


Before I left for Hawaii, I made earrings and a necklace for Carrie. All three pieces of jewelry had a knapped piece of colored glass as the focal point. Here you can see the earrings with light blue arrow heads. I don't have a picture of the necklace, but it has an orange arrow head that matches Carrie's hair.


This was a cat trap Uncle Sam had in his front yard. There are lots of wild cats on Maui. I'm not sure what he does with them when he catches them. I don't think I want to know.


My last night there Uncle Moe came by after hunting that morning. He showed us the crazy guns he has. One was a cross between a rifle and a hand gun if you can picture that. He also showed us the mountain goat he killed that morning. He said he took it down from 173 yards. It's pretty big for the area.


Sunday I will start my 7th class at the Tracker School. This time it will be the Urban Scout class. I'm not totally sure what to expect since the class has never been taught before. I'll be sure to post something when I get back.

Monday, May 22, 2006

Baltimore Bowman Traditional Classic


Left to Right (Me, Bill, Andrew, Matt, Matt, Mike)

I left Friday morning around 8:30am. Tuesday they told me they reserved me an economy car, but of course when I got there they didn't have it. The dude tried to offer me a free upgrade to a truck which I imagine is the opposite of an economy car. I settled for a Chevy HHR which is the equivalent of a PT Cruiser. The cool thing was that it was brand new. It had 5 miles on it. The gas mileage was sufficient.

9 1/2 hours later I was in Baltimore. The timing was nice because I got there not long after my brother. The event was the 2006 Baltimore Bowman Traditional Classic. It was basically a gathering of people interested in bowmaking, bowhunting and archery. There were lots of vendors selling things. There were archery ranges all over the place. They had a few different shooting events.

Bill had a tent representing his organization Ancestral Knowledge. We spent a good portion of our time in the tent practicing skills. In the picture below you can see me working on a bow and Matt and Andrew in the background flintknapping. Of the hundreds of people there we were pretty much the only guys who made our own natural bows so lots of people stopped by to see our work.


One of the cooler things during the weekend was a horseback archery demo put on by a couple of guys. They demonstrated how they did drive-bys in the olden days. One of the coolest skills was shooting a moving target. They galloped by a guy who rolled a target about the size of a large pizza. I have a hard enough time hitting a stationary target, but these guys were moving and the targets were moving. In the picture below, the archer shot the target once before he passed and then again after.


The most fun during the weekend was shooting the 3d courses. Each one was a trail through the woods. Along the trail there were different 3d foam targets of all kinds of different animals. It was always interesting because each shot was unique. Different distance, animal, angle, stance, etc. To make it competitive we had teams and kept score. The diversity of animals was pretty amazing. All the standards were there like deer, bears, turkeys but there were also exotics like a mountain lion, panther and even a lion.


I wish I could say I hit either of these targets, but I didn't. They were a little out of my range.


Here is my brother Andrew sighting in on a deer.

I left Sunday around 12:30pm and made it back late. It ended up being worth the drive. This morning I was happy to give the rental car back with about 1250 miles on it. Maybe they'll reconsider their unlimited miles weekend special.

Friday, March 31, 2006

Current Projects

I have a few different things I'm working on right now. I don't really know when any of them will be completed. First, now that the weather is nice, I've already started flintknapping. I'm working on my first obsidian point. Thus far I've only worked on glass bottle bottoms so this is a new challenge. If the weather is nice, I'll have the point done this weekend.

I'm also working on a new bow. This will be my first osage orange bow. I made a mistake early on but I don't know if it will be a problem until I figure out which part of the stave my bow will comprise.

I've been listening to John Young's Advanced Bird Language series on CD. John Young was mentored by Tom Brown Jr. of the Tracker School for many years. It is a pretty awesome series and the stories are cool. With knowledge of bird language, you can move more stealthily through nature, see more animals, know where animals are before you can see them and generally increase your awareness. For example, in the wilderness John Young knows when a person is coming 2 minutes before he can see them by listening to birds. How cool is that!

Sunday, February 19, 2006

New Bow Grip

I put a new grip on my bow tonight. I also gave it an arrow rest. This along with the nock bead will help keep my shots consistant as the arrow will always rest in the same location each time. Here is a picture of it.

At top left is the arrow rest and you can see the nock bead on the string on the right side of the bow.


On saturday I drove to Mooreland, Indiana to pick up 19 staves of wood from a person whose ebay auction I won. I won them for only $30. Often you could pay $30 or more for just one stave. I got a good deal. Here is the picture from the ebay auction.


I'll have to let these pieces season for a year before I work on them, but it's safe to say I won't need to buy any wood for a long time.

Tuesday, January 31, 2006

Skill: Bowmaking Disaster

Disaster struck tonight! All my hard work down the drain! It's over. Finished. My bow is broken.

I was tillering my bow getting it pretty close to the point where I would write my next post about it. I put it on the tillering stick and glanced over at my tv because it was a good part of the movie Tron. Blamo! It blew up and scared the shit out of me.


I know what the problem was. This limb was twisted about 45 degrees. Based on the way it fractured, I can tell that the twist was the cause. So I guess my bowmaking series will have to wait till I start my next bow. It isn't a total loss. I can use the other limb to make an atlatl or a firebow. An atlatl is basically an extension of the human arm to get extra leverage for throwing big darts. A firebow is used for making bow drill fires.

Monday, January 30, 2006

Michigan Weekend

This weekend I went to Michigan. I was able to kill two birds with one stone by hanging out with my homeboy Steve in Ann Arbor at night and going to the "Traditional Bowhunters Expo East" in Kalamazoo during the day. I hung at Steve's apartment with his friends. Here are some pictures of Steve's crew. As you can see it is was regular U.N. summit.


Steve is seen here in red.


Saturday I drove to Kalamazoo to the convention. There were probably 400 or more people there. The average person there was a fortysome year old man with a close trimmed beard and a camo baseball hat on. It wasn't really a redneck feel, just an outdoorsman feel. I went to a couple seminars. The most interesting one was about a bowhunter who is blind. He prefers this terminology than a blind bowhunter. He and his sighter were a couple of cut ups. They have been shooting together for longer than I've been alive. They basically just told stories about there hunting trips together and then showed how the shooting works.


As you can see they like to joke around. This was Lenny showing how he camos up for the shoot.


Here they demonstrated how John sights the target. Obviously this is pretty short range, but typically they shoot around 20-30 yrds or longer. They are both archery champions.

At the convention there were tons of tables full of stuff people were selling. I probably spent over $150 on all kinds of stuff. Most of the stuff I bought was for making arrows. I got a fletching tool, a tapering tool, feathers, arrow points and shafts. I also got some things for making arrow points and other stone tools. Right now I'm really more excited about that, but I have to wait till the weather is nicer before I can work on it.


The rocks are both obsidian and together cost about $25. Obsidian is one of the easiest rocks to work with. A neat thing about it is that it fractures to the very molecule which is 1000 times sharper than a surgical scalpel. You can expect some posts about this in the future.

Monday, January 09, 2006

Skill: Bowmaking Part 2

I'm back with an update of my bow. If you haven't been following along, you should check out the previous two bowmaking posts here and here. It's coming along nicely. It actually looks like a bow now that I've trimmed it down to shape.

To get to this point I used the draw knife as much as possible since it can remove a lot of wood quickly. I got into some trouble along the way with the wood splitting and peeling. When this started happening I switched to a rasp as seen below.

This tool makes it pretty hard to make a mistake since it doesn't really allow you to split the wood or dig in like a draw knife. It also takes off less wood at a time of course.

So coming into this post, I basically have the back of the bow complete. Right now I'm working on getting the sides finished. That will leave just one variable, the belly, to remove wood from when I'm tillering the bow. Below you can see a more detailed view of my handle section.

There is more work to be done on it but you can see the sides are looking pretty good. The final thing to do before tillering, besides making a string is to cut some nocks into the tips.

For this, I used some smaller round files not pictured. My next bowmaking post will discuss tillering, which is the process of removing wood from the belly to even out the bend of the limbs.

Tuesday, January 03, 2006

Christmas Time Skills

I had a great Christmas break. Because the weather was so nice I got to spend a lot of time outdoors. My brother made me a new bow from Osage Orange wood.
It is quite an awesome gift. With two bows my good friend Jon and I spent 2+ hours shooting together. It was a blast.

I also had some time to do some tracking around the area. I found a heavily used dear trail. Right before the trail exited into open area, I found a kill. I determined it to be a rabbit on account of finding the cottontail at the kill site. There was also a big patch of torn off skin left behind. Little did I know at the time that this was a foreshadowing of what was to come on Christmas day. I looked for a long time on several trails but I could not find any tracks besides deer. In the end I had to assume that the predator was a coyote. I know they are in the area and my mom said she heard one a few nights before.

On my way to church Christmas morning, there was a roadkill rabbit a few houses down the road from my parents' house. It was easy to tell that the kill happened that morning. After church I picked it up. Last night I skinned it. The skin is so thin that I ripped it in several places. I'm not sure if I'll be able to finish tanning it.

As you can see, I wasn't able to get all the fat off of it yet.

Stay tuned. My next post will be an update of the progress of my bow.

Sunday, December 18, 2005

Skill: Bowmaking Part 1

This is the first part of my bowmaking skill series. This part will cover the basics about what part of the wood to use and how to layout the shape of the bow. First let's look at a diagram. On the left of the diagram you can see a wedge of wood. The red square represents the bow. The first rule of bow making, is that the back of the bow should be comprised of one growth ring. If the back of your bow is made of more than one growth ring then it is likely to break.

Before we get to our first step, let's look at a couple of tools we'll need. In the next picture, you can see my bowhorse. This device allows the wood to be secured at an angle that is ideal for work. On the bowhorse is a draw knife which is our primary tool for this part. Also note the stave of wood on the ground that is now my complete bow from the teaser post.
The first thing to do, is remove the outer bark. You can be pretty aggressive with the draw knife here. Once you get the outer bark off, you are left with a thin inner bark. Once you start seeing this smoother inner bark you should be careful. The next layer is the first growth ring. The first growth ring will be a very light color in most woods, but can be yellow in a wood like Osage Orange. I'm using hickory so it is light.

In the next picture you can see my stave with the bark taken off. The light brown is the inner bark and the white color is the first growth ring. Since the wood can have dips and rises in it, you really have to be careful when removing the inner bark layer. If you remove it without care, you can slice right throw the growth ring. To remove the rest of the inner bark, I scraped with a knife perpindicular to the wood. You can also opt to leave it on to give the bow a camoflage appearance.
Once you are at one growth ring, you can layout your bow. The first step is to draw a center line for you bow. With very straight wood, you can just draw a line down the middle of your bow. That is what I did with my first bow. This time, my wood is not at all straight. In fact, if you look at the picture to the left, you can how I laid out my bow. It goes diagonally from bottom right to top left. This is because I had to follow the grain of the wood. If I didn't the bow could break.

Once you have the center line, you can use it as your guide for drawing in the outline of your bow. As far as demensions go, I made this bow 66" long. I drew a 4" long handle in the middle. You can see in the last diagram the measurements of width for different sections of the bow. This is just the way I do it. There are many different measurements and layouts that one can use.


In the next Bowmaking post, I'll give an update of the status of my bow. Stay tuned.

Thursday, December 15, 2005

Skill: Bowmaking Teaser

I am in the process of making a new bow. When I say this, I mean crafting a bow from a piece of wood to shoot arrows. I'd like to present a series of posts about the process of making a bow. I'll try to be heavy on the pictures and light on the science to make it more interesting. Before I get into that, I'd like to show you the first bow I completed just this Thanksgiving.

My bow is seen here next to a common slide whistle to give you perspective on its size. Also, note the arrow I assembled. It is one of twelve. The bow is 66" long and pulls approximately 47 lbs. at 29" for all you bowyers out there. I will likely add a leather grip with an arrow rest to truly finish the bow.

Making this bow has been a long journey. I think it has taken more than a year and a half from start to finish. This is because I often got into situations where I didn't know what to do and was afraid I would make a mistake. This was especially the case near the end when an extra scrape or two of wood could take the bow from hunting class down to a kids toy. I often put the bow away and didn't get back to it for a month.

Now that I made it through my first bowmaking experience, I plan to crank this next one out a lot faster. So now that you've seen the finished product, stay tuned to see the process from start to finish.