It was actually very simple. The first thing I did was drill a whole in the shaft.
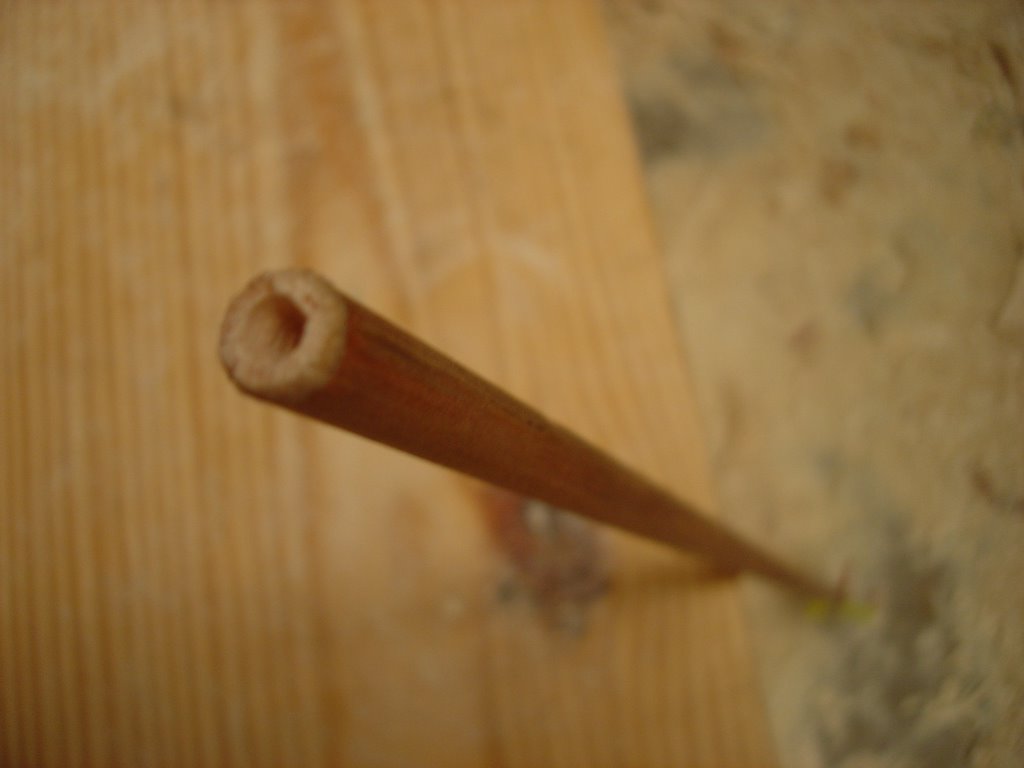
Sorry for the out of focus picture.
After that, I prepared the nail by sawing it in half and filing down the non-pointy side so it would fit into the hole.
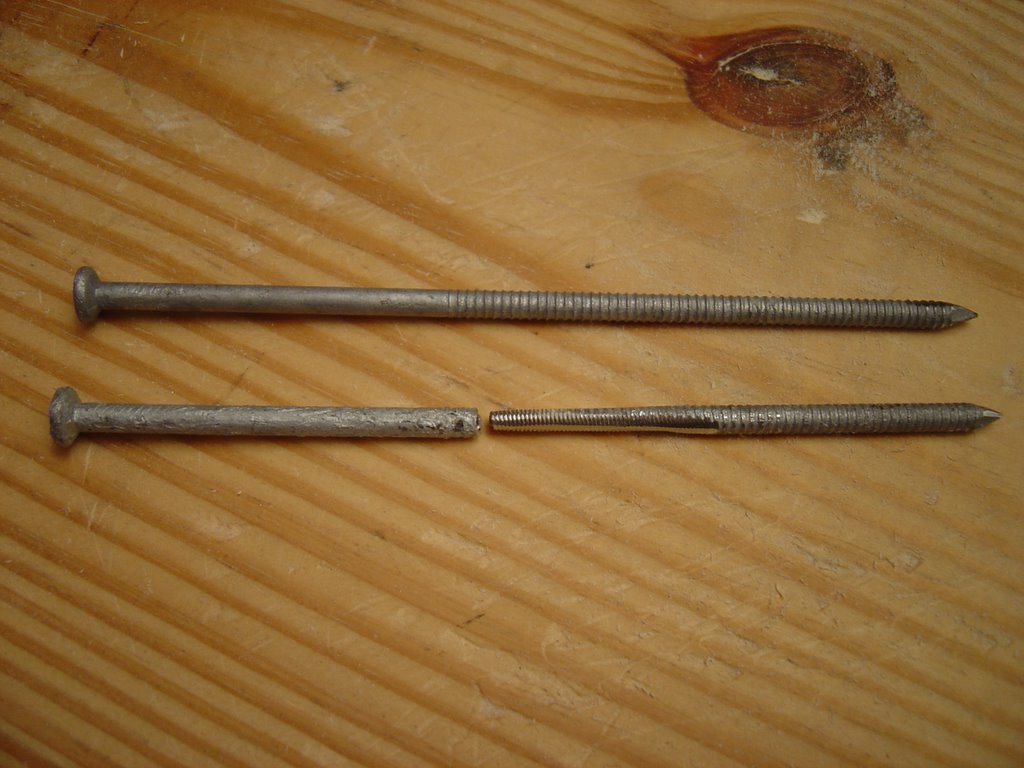
On top is an original nail and the bottom right is the finished tip.
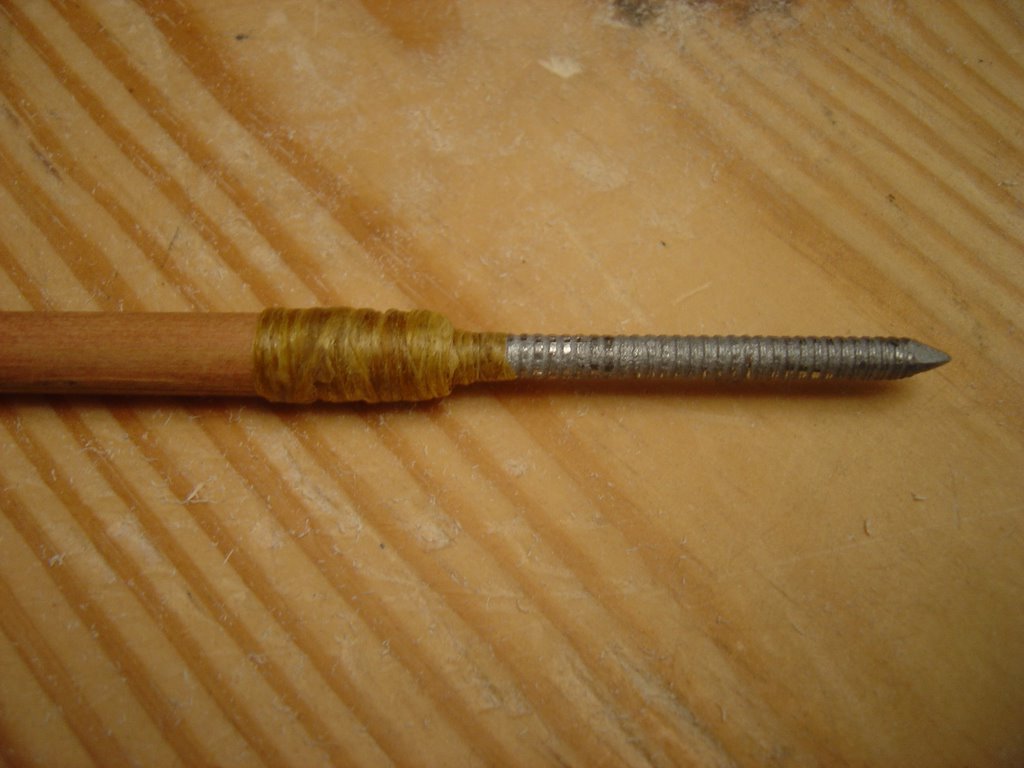
Then I inserted the nail and wrapped it all up with artificial sinew. This will keep the nail from splitting the shaft or coming out. The last thing I did was put some beeswax over the sinew to keep it from unraveling.
I shot the arrow a couple times and it is pretty nice. It is definitely heavier at the tip then a normal hollow tip. I'm not sure yet how the arrow will handle on a longer distance shot. I'll probably make some more of these at a shorter length. Shooting it is kind of like shooting a nail gun, except this baby can go about 200 yards.
My bow is still coming along. I'll probably have another post about that soon.


2 comments:
super sweet.
what were those tracks?
Try drilling a hole into the dowel rod, putting a screw into it, then file the wood and screw to a point. Should be able to withstand higher impact. That's what I will be using for my homemade compound crossbow.
Post a Comment