Saturday, December 24, 2005

Holiday Fun

Last night we had a holiday family gathering. At Christmas time each year we have a few traditions that we hold dear. One is our fondue dinner. This is always a fun dinner. The danger of boiling oil at hand always makes it exciting. As a kid this kind of dinner was so special to us that it became more of a competition than a dinner. It has mellowed out as we've become adults, but the competitive instincts still show sometimes. In the past it was common to have disputes over who gets what color fondue sticks and how many each person gets. Staking your territory in the fondue pot was always important. If you left your spot idle for too long, you would undoubtedly have encroachers in your territory. After pulling out my cooked food, I quickly learned to stick my next batch of food in before eating what I pulled out.

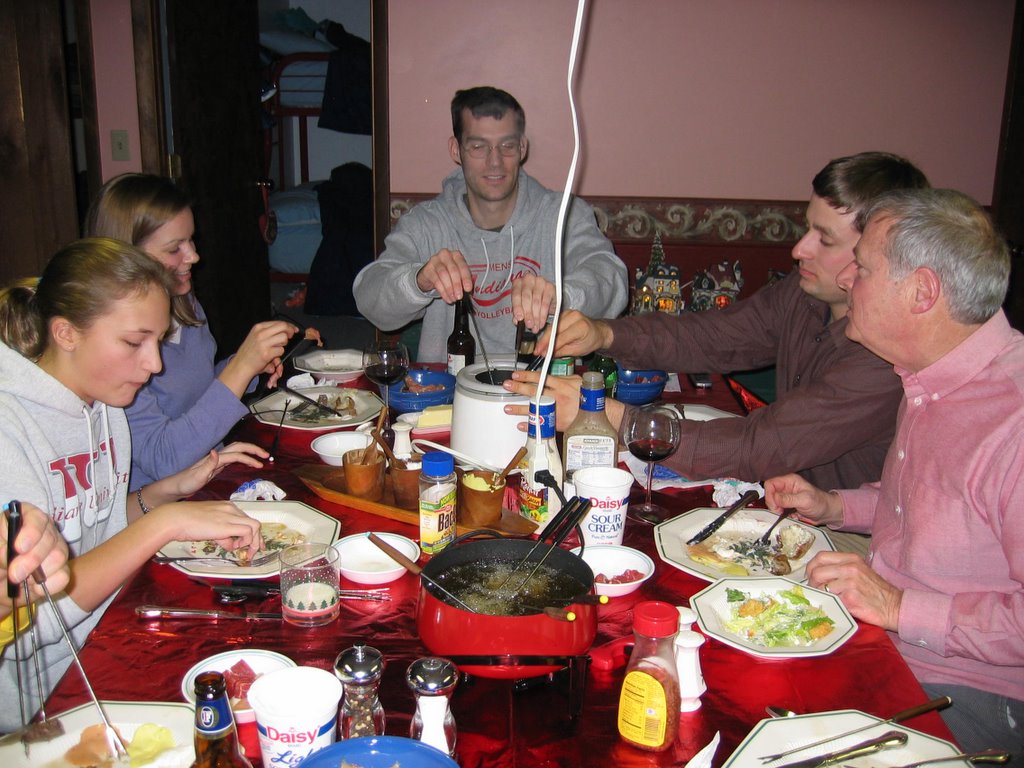
We have a two pot system as you can see from the picture below. If one pot wasn't hot enough it was common for the competitors in the middle of the table to switch pots or use both which was frowned upon by the people on the end. Such an incident happened this year but was quickly resolved. The rookie Natasha (my niece) was shut down by the older competitors. Heaven forbid if you lost your meat in the pot. It was fair game for anyone who could spear it. As the dinner waned and people started laying down there sticks, active competitors would scramble to gather up the unused sticks to boost their production speed. I recommend fondue as a fun and exciting dinner.


Another one of our traditions is cookie decorating. Our family gets pretty serious about it. One year we even held a competition with categories based on the shape of the cookie (bell, angel, christmas tree, snowman, etc.) with voting from our guests. Unfortunately, I lost the pictures from that year. There were some truly magnificent cookies.

We don't just slap icing on the cookie with a knife. Some of the advanced techniques we employ are:

  • tweezers for exact placement of sprinkles
  • custom colors sometimes mixed for use on only one cookie
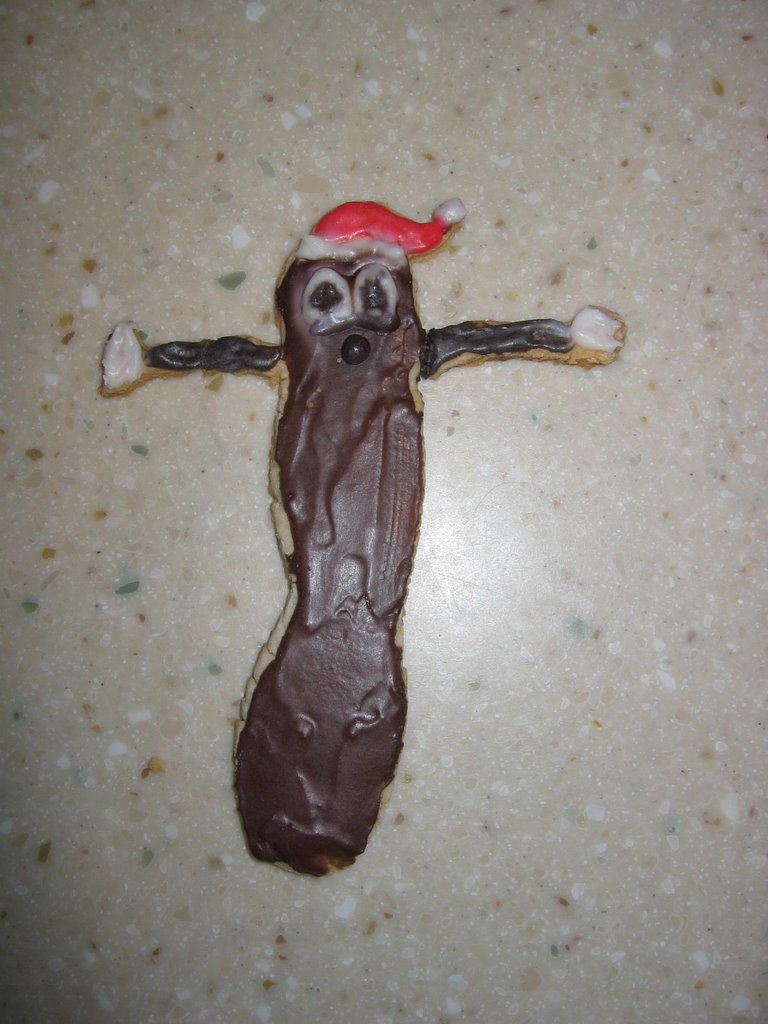
  • using cookie shapes for designs they weren't intended for
  • toothpicks for detailed application of icing

Here are some pictures from this year including some of the top designs.

Here you can see the two palettes I used on my designs.

My niece Brianna is already decorating at a 9th grade level!

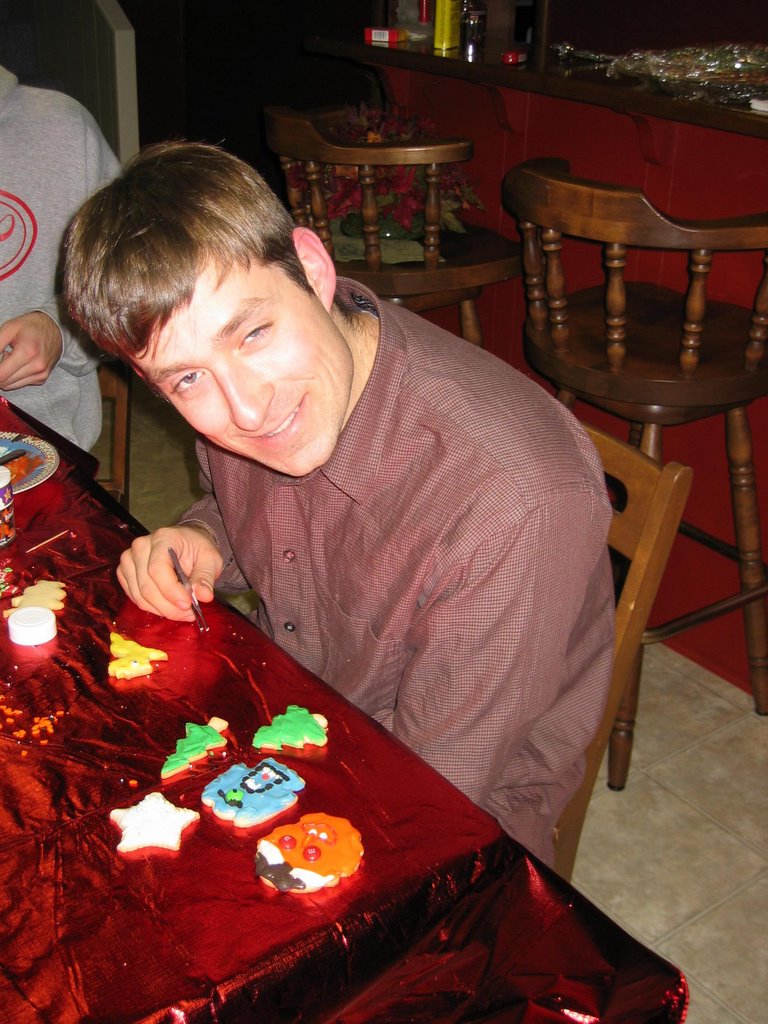
Don't let the look fool you, my brother Andrew makes the most creative designs.

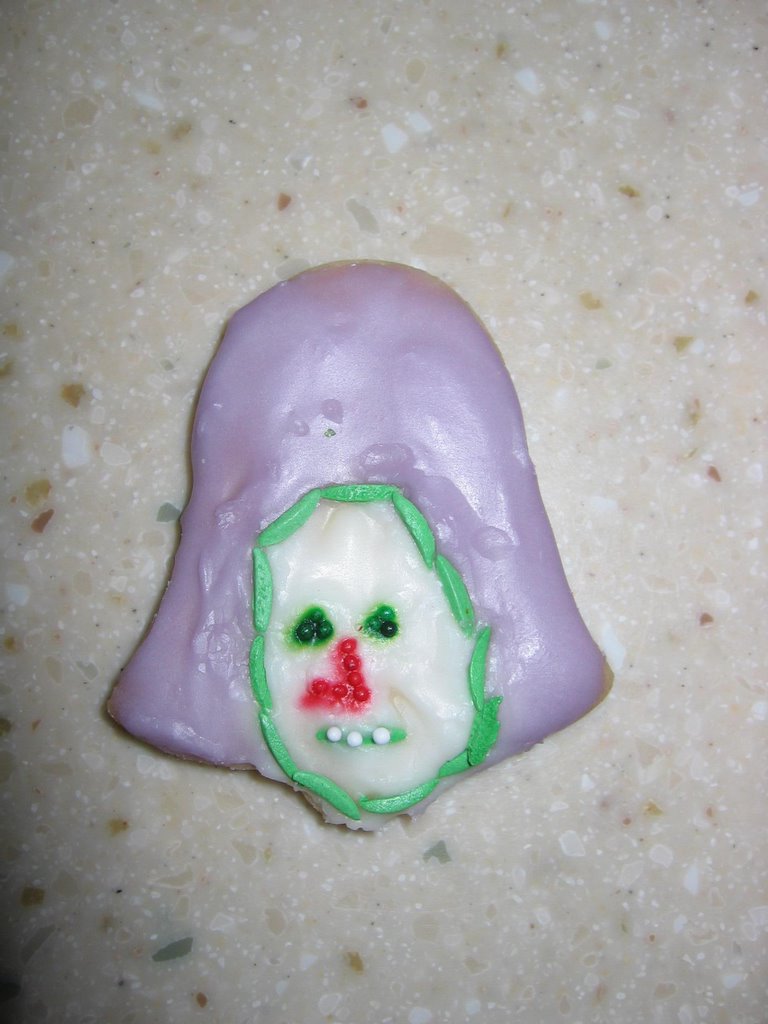
Artist: Brianna, Shape: Bell

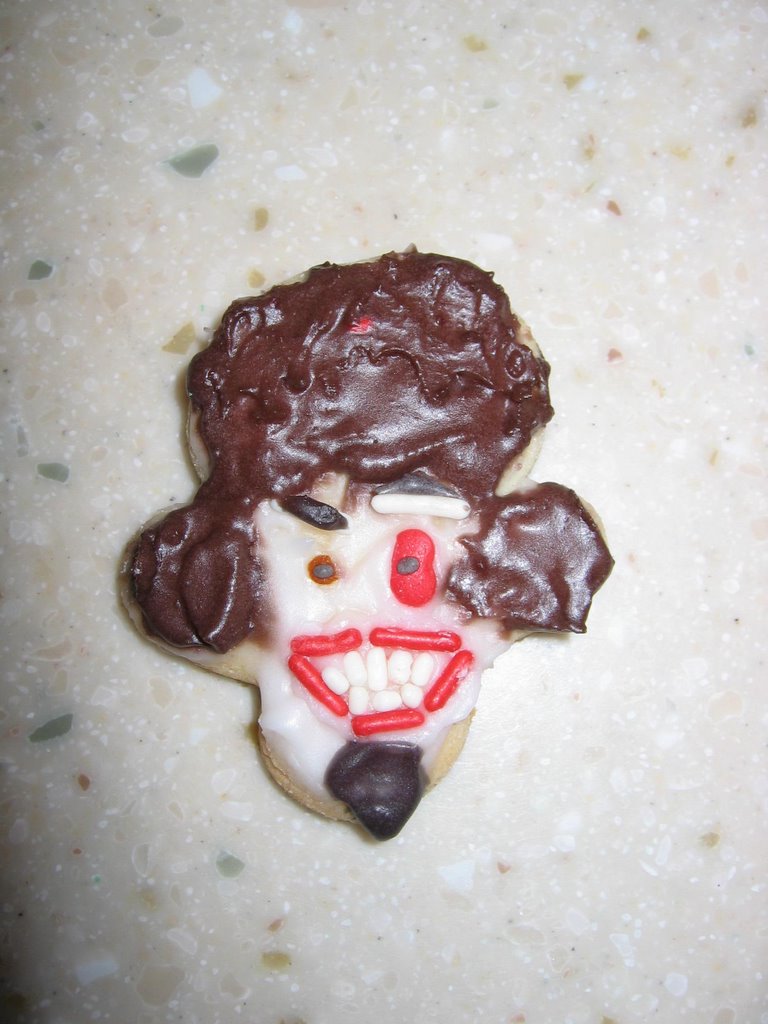
Artist: Andrew, Shape: Angel

Artist: My brother's girlfriend Laura: Shape: Tree

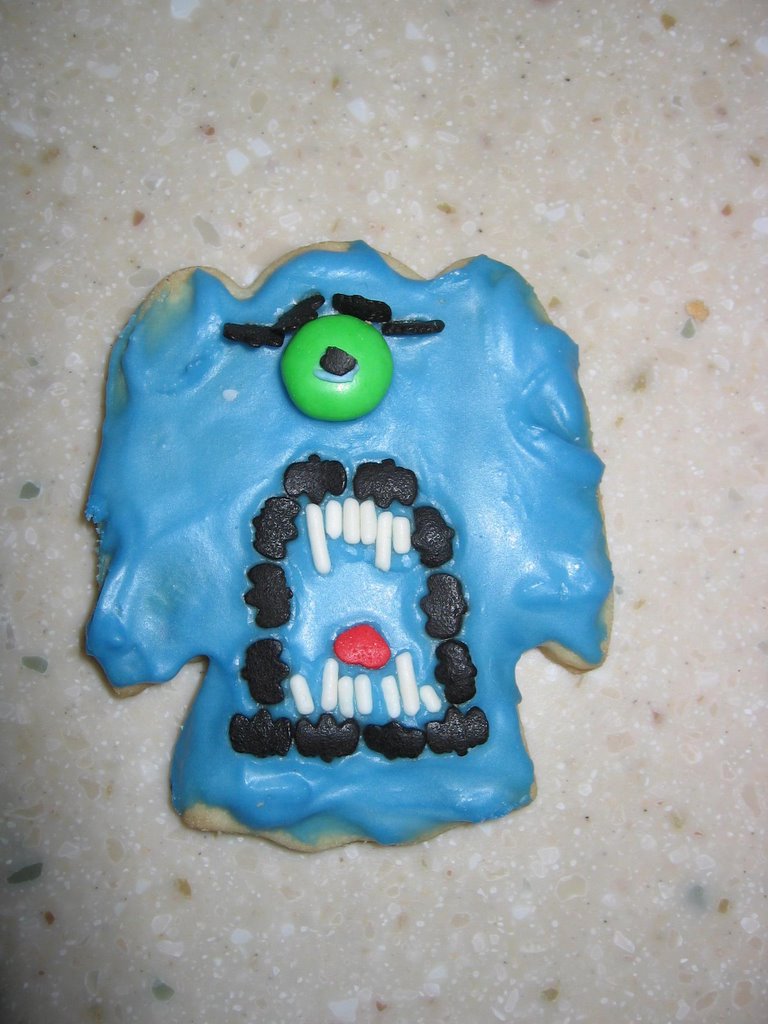
Artist: Me, Shape: Snowman (upside down)

Artist: Natasha, Shape: Snowman (upside down)

Artist: Me, Shape: Custom Mr. Hankey shape

Happy Holidays!

Tuesday, December 20, 2005

Shoot Happens!

First, sorry for the corny title. I've been thinking a lot about shooting my bow these days. As I think I said in an earlier post, it is ironic that I finally finished my bow just in time for cold weather when it is uncomfortable to practice shooting. That's what I get for procrastinating for so long. I was lucky enough, however, to get in one good session over Thanksgiving. My brother and I went on a roving practice session. Our parents live in an area where there is still some pseudo-wilderness area. There are some wooded patches, a river and some open grassland not yet developed. We each carried our bow and a quiver of arrows. Basically, we would pick some target and see who could shoot it or get closest to it. Being near civilization, there were lots of objects to shoot like trash and tennis balls. The fun of roving around is that you can try so many different shots. A few of the fun ones were:
  • a lob shot trying to hit a patch of grass 50 yds. away.
  • a western movie style shoot out where we were facing away from our target and had to spin around and shoot two arrows through it.
  • a long range shoot to test the max distance of our bows. Mine is ~190 yds.
  • a shot at an object protected by brush.
I'm dying to shoot like this again, but will have to wait till the weather is nicer. In the mean time I bought a target and put it in my basement. I know you're thinking this is dangerous, but it isn't. First, the shot is only 20 ft. which makes it pretty hard to miss. Second, as you can see from the picture, I have some protective cushioning surrounding the target.
I shoot 4-5 days a week because it is so fun even with the same 20 ft. shot everytime. To keep it interesting I usually play a game. I start with 12 arrows and my object is to get at least one in each of the four white spots. Of course it isn't that plain. I always make it into a movie moment with dialogue:

Dr. Evil: "Ok Mr. Bond, you have 12 arrows with which to save your family. Each spot you hit will release one of your family members. Good Luck, Mr. Bond".

Bond: (Sean Connery accent) "I'll play your game Dr. Evil and when I'm done I'll save my last arrow for you!"

So far I've only saved my family once, but I'm getting better.

I was just thinking about how much fun it would be if there was a way to have a non-lethal bow fight. It would be like paintball, except you would use bows. There'd need to be some kind of arrow or arrow tip that is padded. I probably wouldn't go as far as using paint. The trick would be making an arrow that would fly true but not hurt. If it were a cartoon, it would be an arrow with a boxing glove on the tip. Does anyone have any ideas?

Sunday, December 18, 2005

Skill: Bowmaking Part 1

This is the first part of my bowmaking skill series. This part will cover the basics about what part of the wood to use and how to layout the shape of the bow. First let's look at a diagram. On the left of the diagram you can see a wedge of wood. The red square represents the bow. The first rule of bow making, is that the back of the bow should be comprised of one growth ring. If the back of your bow is made of more than one growth ring then it is likely to break.

Before we get to our first step, let's look at a couple of tools we'll need. In the next picture, you can see my bowhorse. This device allows the wood to be secured at an angle that is ideal for work. On the bowhorse is a draw knife which is our primary tool for this part. Also note the stave of wood on the ground that is now my complete bow from the teaser post.
The first thing to do, is remove the outer bark. You can be pretty aggressive with the draw knife here. Once you get the outer bark off, you are left with a thin inner bark. Once you start seeing this smoother inner bark you should be careful. The next layer is the first growth ring. The first growth ring will be a very light color in most woods, but can be yellow in a wood like Osage Orange. I'm using hickory so it is light.

In the next picture you can see my stave with the bark taken off. The light brown is the inner bark and the white color is the first growth ring. Since the wood can have dips and rises in it, you really have to be careful when removing the inner bark layer. If you remove it without care, you can slice right throw the growth ring. To remove the rest of the inner bark, I scraped with a knife perpindicular to the wood. You can also opt to leave it on to give the bow a camoflage appearance.
Once you are at one growth ring, you can layout your bow. The first step is to draw a center line for you bow. With very straight wood, you can just draw a line down the middle of your bow. That is what I did with my first bow. This time, my wood is not at all straight. In fact, if you look at the picture to the left, you can how I laid out my bow. It goes diagonally from bottom right to top left. This is because I had to follow the grain of the wood. If I didn't the bow could break.

Once you have the center line, you can use it as your guide for drawing in the outline of your bow. As far as demensions go, I made this bow 66" long. I drew a 4" long handle in the middle. You can see in the last diagram the measurements of width for different sections of the bow. This is just the way I do it. There are many different measurements and layouts that one can use.


In the next Bowmaking post, I'll give an update of the status of my bow. Stay tuned.

Thursday, December 15, 2005

Skill: Bowmaking Teaser

I am in the process of making a new bow. When I say this, I mean crafting a bow from a piece of wood to shoot arrows. I'd like to present a series of posts about the process of making a bow. I'll try to be heavy on the pictures and light on the science to make it more interesting. Before I get into that, I'd like to show you the first bow I completed just this Thanksgiving.

My bow is seen here next to a common slide whistle to give you perspective on its size. Also, note the arrow I assembled. It is one of twelve. The bow is 66" long and pulls approximately 47 lbs. at 29" for all you bowyers out there. I will likely add a leather grip with an arrow rest to truly finish the bow.

Making this bow has been a long journey. I think it has taken more than a year and a half from start to finish. This is because I often got into situations where I didn't know what to do and was afraid I would make a mistake. This was especially the case near the end when an extra scrape or two of wood could take the bow from hunting class down to a kids toy. I often put the bow away and didn't get back to it for a month.

Now that I made it through my first bowmaking experience, I plan to crank this next one out a lot faster. So now that you've seen the finished product, stay tuned to see the process from start to finish.

Wednesday, December 14, 2005

My Blog Format

Ok, I figured out what I'm going to do. If I only blog when I have skills to talk about, it will be boring and too infrequent, so I'm going to blog about everything here. When I have a skill, I'll title my blog accordingly. For example, my first skill blog will be "SKILL: Bowmaking part 1" or something like that. So stay tuned for my first Dynamite Skill.

Monday, December 12, 2005

Why a blog?

I've been battling with myself for a few months now on whether I should start a blog or not. My main argument against blogging is that it is a waste of time. My friends' blogs are mostly for entertainment. I enjoy reading them, but I don't think I should be wasting my time writing them. Another reason not to have a blog is that it is kind of a commitment. Once you have some readers, you have to keep blogging or eventually, no one will visit and then what is the point.

The reasons I want to blog is because it is fun, it is a place to share ideas and pictures and it is a good way to document the skills I'm working on. I've decided that if I can limit the negatives and still keep the positives, then this blog will be worth it. So with that said, let's see how long I can keep this thing going.